 |
| These didn't come with numbers |
One of the wonderful things about a project like this is you never know what is around the next corner or where the journey will take you.
During my first weekend of work it became clear that a lot of other tasks will have to come before the windows. Some of the tasks will have to occur, not in steps, but simultaneously. I started by removing the interior walls. Here's where I was actually thankful they didn't do as complete of a job as possible.
First came the trim. 1/4 inch plywood strips about 5 inches wide and a few feet long. Stapled in with 1 inch staples. Not easy to remove without damage. I used a putty knife to get behind it and gently pry it off. Then came the wall panels.
 |
| The "Bones" of the trailer |
You might remember in a previous post how I praised the manufacturer for doing such a good job. Yeah, forget that.
The floors are 3/4 inch plywood. Very sturdy and installed with plenty of (regular Phillips) screws. They failed to run the plywood all the way to each wall which left a gap on one side. The gap is artfully hidden when the walls are installed. It's a gap that lets you see the road below! Now, I understand these trailers are built for landscapers and for moving cargo. But that huge gap is sure to eventually let water get inside the trailer. No matter what you use your
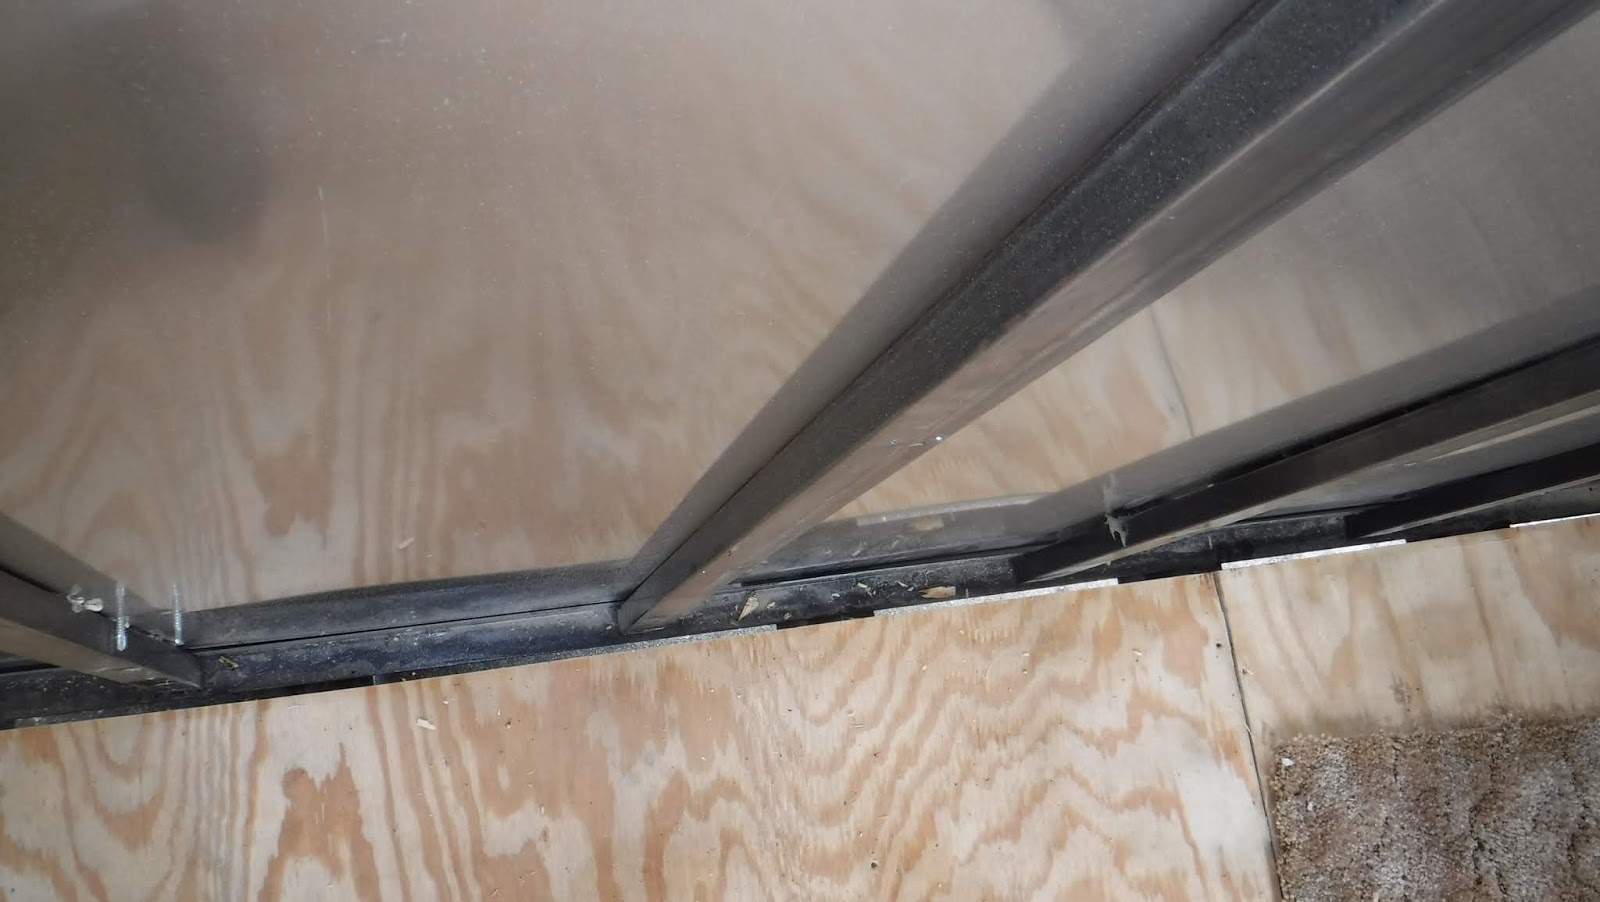 |
| I see London, I see France... |
The best solution I could come up with was to remove the floor panels, notch them out to allow for the wall beams and move them over. That exposed a 2 1/2 inch gap on one side that I'll patch with additional OSB I already have. In a few places the outer aluminum skin is not fully against the wall beams which leaves a 1/4 inch gap. I'll be getting one of those cans of spray foam insulation to fully seal the inside from the outside.
Up next:
Complete floor repair
Spray foam all cracks
Install both 110 and 12 volt electrical wiring
Insulation
With the walls off I painted the exposed steel wall studs. I used up 4 cans of half-full spray paint I had laying around. Glad I save all that old stuff! I did order windows but those are a weekend or two away from installation.
Feels good to be underway. Cheers!
NEXT POST: One Thing Leads to Another